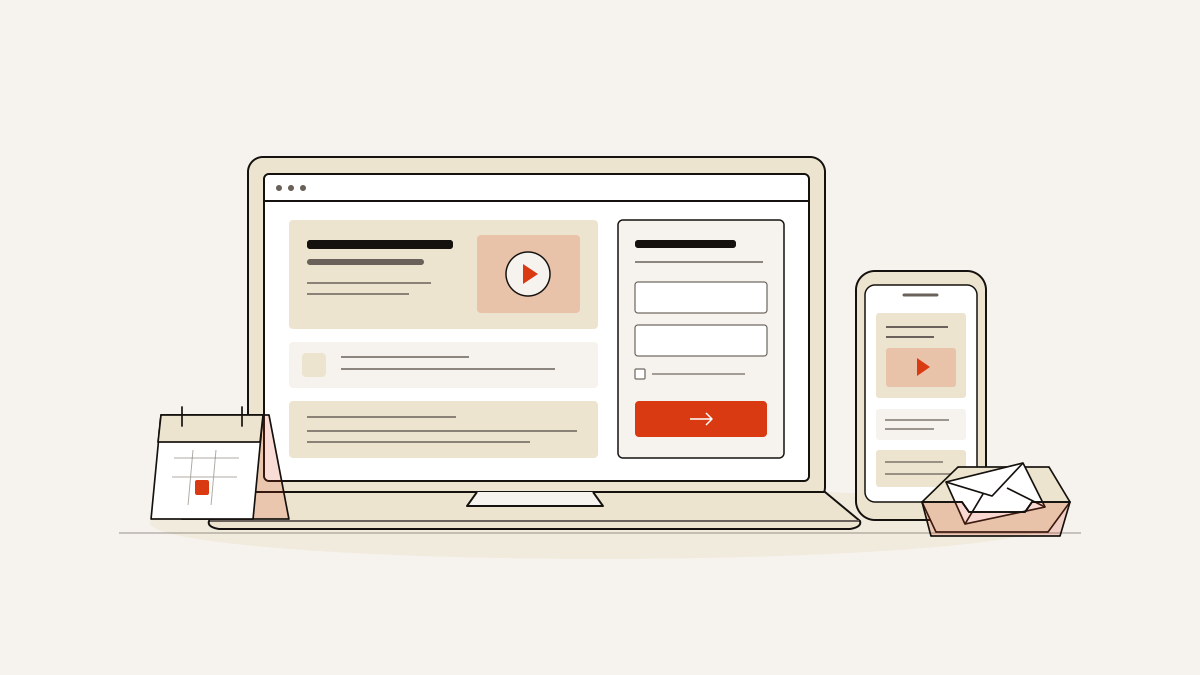
Choose a webinar landing page template with a headline written for your audience. It should say what attendees will learn and when the event takes place. Include the speakers’ qualifications and one sign-up form. For a recorded webinar, replace the live-event details with how and when people can watch the recording.
The fill-in page structure helps you explain why someone should attend and what they’ll learn. It also gives you space to explain what happens after they submit the form. The editing rules help you choose a layout that fits your content. Before sending visitors to the page, run the checks.
Build the page around one registration decision
Explain the offer before asking people to register. Before visitors reach the form, they should know whether the session covers their problem. They should also know what they’ll get when they submit their details.
The list below follows the page order. Replace each bracket with a concrete detail:
-
Headline: “[Audience]: learn how to [specific outcome] at [webinar title].”
-
Introduction: “If you’re dealing with [problem], this session covers [approach], so you can [practical next step].” If timing matters, explain why: “[Change or deadline] makes this relevant now.”
-
What you’ll take away:
- “How to identify [specific issue] in your [work or process].”
- “A method for choosing [option] based on [criterion].”
- “The steps to put [approach] into practice.”
-
Speaker: “[Name], [role] at [company], will explain [topic connected to their work].” Add a photograph of their face. Give the same details for any guest speakers.
-
Attendance or access: Use the wording below that fits your session.
-
Registration: “Enter [details you need] to [register for the live session / request recording access].”
For a live session, write: “Join live on [weekday, date] at [time, time zone].” Say whether people who register will get a recording. If you have arranged one, say when it will arrive.
For a recording, write: “This is a recorded session. After submitting, you’ll receive access via [actual delivery method] within [actual timeframe].”
Give the page one registration goal and one form to collect visitors’ details. The button should match the offer: “Register for the live webinar” or “Request recording access”. This lets visitors see what the offer includes before deciding whether to share their details.
Choose the layout for the webinar you can actually deliver
Choose a layout you can fill with the material you have. Keep the sections that help someone decide to attend. Change or remove anything your session cannot support.
- Each template page lists its section count, photograph count, colour schemes and form type: enquiry or order. An enquiry form collects interest or registrations; an order form takes orders. These details help you choose a layout you can fill with useful content. Browse all 26 event landing page templates. For registrations, start with an enquiry form rather than an order form.
- If the benefits section is vague, replace it with 3–4 specific things people will learn. Use “You’ll leave knowing how to [task]” or “You’ll be able to choose [option] using [criteria]”. Each point should name something the session actually teaches. Visitors can then judge whether it is worth their time.
- If an image space introduces a speaker, use a high-quality headshot: a photograph of their face. Add their role and company where relevant, plus the qualification or experience that connects them to the topic. Remove decorative images that would take space from this information.
- For registration, keep the form to name and email unless you need more details to complete it. Every additional question gives visitors more work before they can submit.
- A countdown needs a genuine live date. Remove it for recording requests, where an invented deadline misrepresents the offer.
Starting from one of our landflow templates costs no credits on any plan.
Check the registration journey before sending traffic
A registration is ready for follow-up when it reaches your inbox with usable contact details. Test the published page before sending visitors to it. The preview in the editor is not enough.
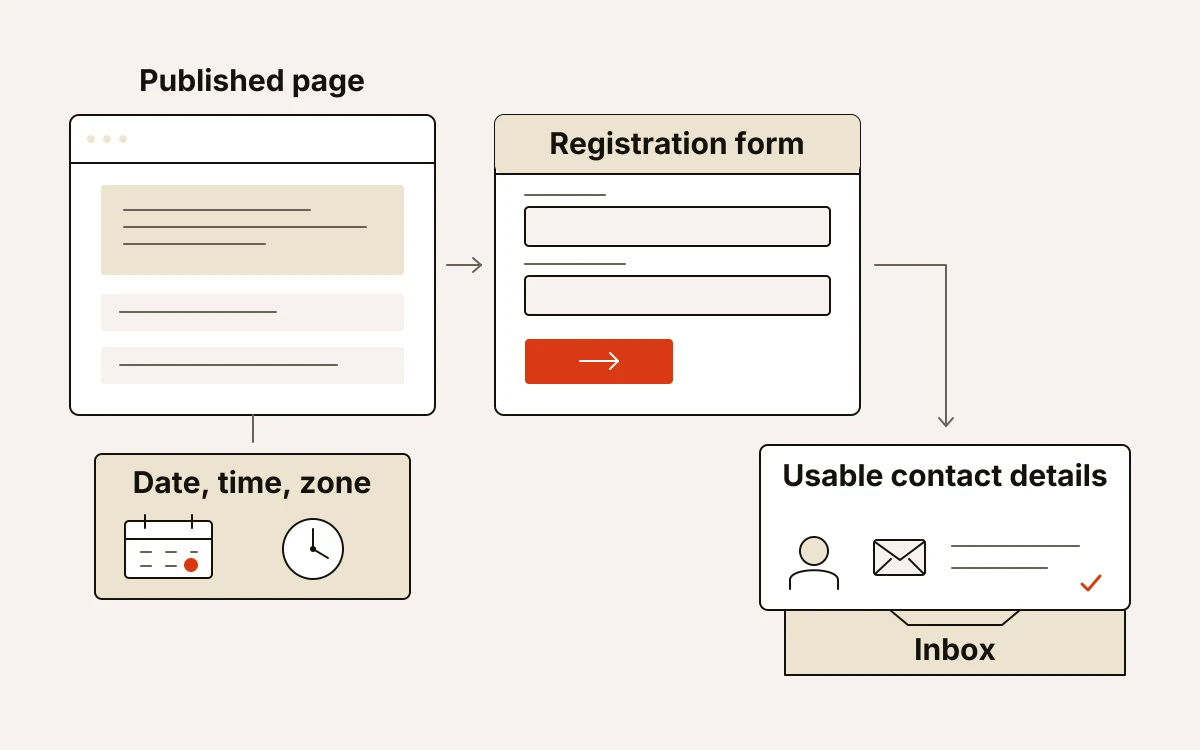
- Check the live date, time and time zone against your event schedule. For a recording, check how and when people can access it against what you will deliver. The button and confirmation text should explain what happens next. Collecting contact details does not itself enrol someone in a webinar platform or send an access email.
- Submit a test registration with an email address you control. Find it in the inbox and check that the name and email arrived correctly. If you promise an access email or separate enrolment, include that step in the test.
- Open the published page on your phone to check the timing and complete the form. Follow each link, including buttons that jump to the form. Fix any cut-off text, hidden fields or links that go nowhere before sending visitors to the page.
- Keep the registration form as the page’s only form for collecting contact details. Remove newsletter signups, unrelated offers and buttons asking visitors to book a different service. Repeated registration buttons should lead to the same form.
We publish to WordPress through the landflow Connector plugin, an add-on for WordPress. Our server records where each lead came from and which campaign sent it. We save the lead to the inbox before any tracking pixel runs and reports visitor activity.